How to setup Giscus in your Astro website
Introduction
My blog is receiving quite some visits lately and I wanted to add a comment section in my blog posts because I felt like I was missing some feedback from my readers.
Enter Giscus!
What is Giscus?
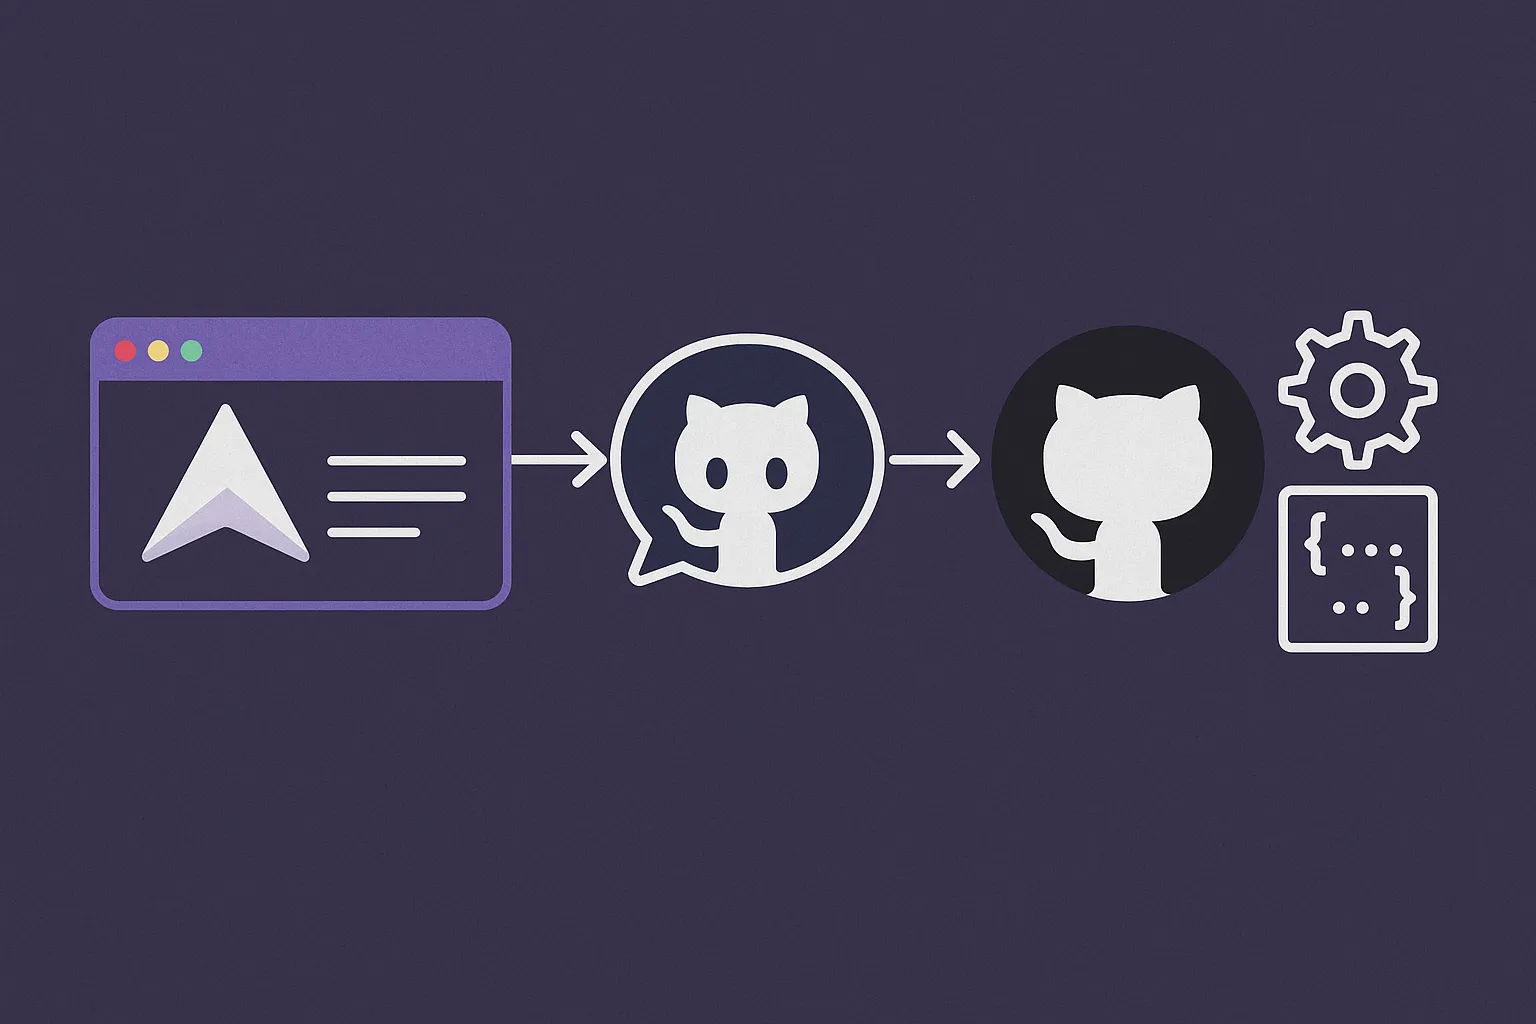
Giscus is an interface which lets you add a comment section to any website by leveraging GitHub Discussions. Basically it lets your readers comment with their GitHub account and the comments get stored on a public repo.
Super simple right? Let’s see how to set it up:
How to set Giscus on Astro
Step 1: Set up the github repo
- Create a public repository (or use the same one as your website if it’s also public)
- Install Giscus app on that repository by going to https://github.com/apps/giscus
- Enable Discussions on that repository by going to Settings -> General -> Features -> Discussions
Step 2: Set up the Giscus code
This is super easy, just go to the Giscus App and enter your repo name and the configuration of your choice.
At the bottom it will create a block of code similar to this one:
<script
  src="https://giscus.app/client.js"
  data-repo="[ENTER REPO HERE]"
  data-repo-id="[ENTER REPO ID HERE]"
  data-category="[ENTER CATEGORY NAME HERE]"
  data-category-id="[ENTER CATEGORY ID HERE]"
  data-mapping="pathname"
  data-strict="0"
  data-reactions-enabled="1"
  data-emit-metadata="0"
  data-input-position="bottom"
  data-theme="preferred_color_scheme"
  data-lang="en"
  data-loading="lazy"
  crossorigin="anonymous"
  async
></script>
Step 3:
⚠️ Disclaimer: I’m using TailwindCSS, so the code below might vary if you’re not using it.
Create a the astro component:
-
Create a component called
Giscus.astro -
Paste the following code:
<!-- Giscus.astro --> <section class="mt-10 mx-auto"> <Your Giscus script> </section> -
Now just add this component wherever you want a comment section:
<Giscus />In my case I just added it to my PostLayout.astro which is what all my blog posts use.
Optional: Enabling dark mode
If your website uses dark mode (like this one), you can add the following script that changes the theme of the Giscus widget based on the current class of the site:
<!-- Giscus.astro -->
<section class="mt-10 mx-auto">
  <Your Giscus script>
</section>

<script is:inline>
  function updateGiscusTheme() {
    // Check if 'dark' is in the current classes
    const theme = document.documentElement.classList.contains('dark') ? 'dark' : 'light';

    // Get the Giscus widget iframe
    const iframe = document.querySelector('iframe.giscus-frame');
    if (!iframe) return;

    // Set the Giscus theme widget based on the current site's theme
    iframe.contentWindow.postMessage({ giscus: { setConfig: { theme } } }, 'https://giscus.app');
  }

  // Check constantly for a change in the current classes
  const observer = new MutationObserver(updateGiscusTheme);
  observer.observe(document.documentElement, { attributes: true, attributeFilter: ['class'] });

  // Trigger the script on page load
  window.onload = () => {
    updateGiscusTheme();
  };
</script>
⚠️ It’s important to add the
is:inlinestatement so astro doesn’t screw with that script, we want it inserted “as is” into the website’s html.
⚠️ I also recomment setting your giscus theme config in giscus.app to anything other than “Preferred color scheme” to avoid script conflict as Giscus will also try to dynamically change the theme based on the user’s preferences.
That’s it!
Your readers or users will now be able to comment with their GitHub accounts on your site. Easy!